Wine making can be fun and interesting. I remembered my student days in UK in the 80s where I started drinking wine and then later making my own wine. It wasn't that difficult to make wine as there were wine kits available in most supermarkets there. Following instructions given by the manufacturer of the wine kits, I was able to start making wine with a very small capital investment (in terms of basic equipment). After a few trials, I was able to make wine of acceptable quality for my own personal consumption. The cost of ingredients at that time was under 2 sterling pounds, it was sufficient to make 6 bottles of wine. Ordinary table wine at local supermarkets (Tesco, Marks & Spencer) was selling at 2 sterling pounds a bottle. There was significant savings if one knows how to make quality wine for his own consumption. I had also experimented making wine from apples or even flowers. That was almost 30 years ago, but I could still remember the joy and excitement when I opened the first bottle of my own labour. It may not taste fantastic but the alcohol content in it confirmed that it was wine. Later I realised that the quality of the wine could improve further if I allowed it to age in bottles over a year or two. Although I may not be able to make wine here, I believe the technique is the same. If you can get the equipment, surely making wine is as easy as ABC. But check with the authority first to find out if it is legal to make your own wine, may be you need to pay tax before wine making is allowed here. Here is my past experience which I would like to share.
 |
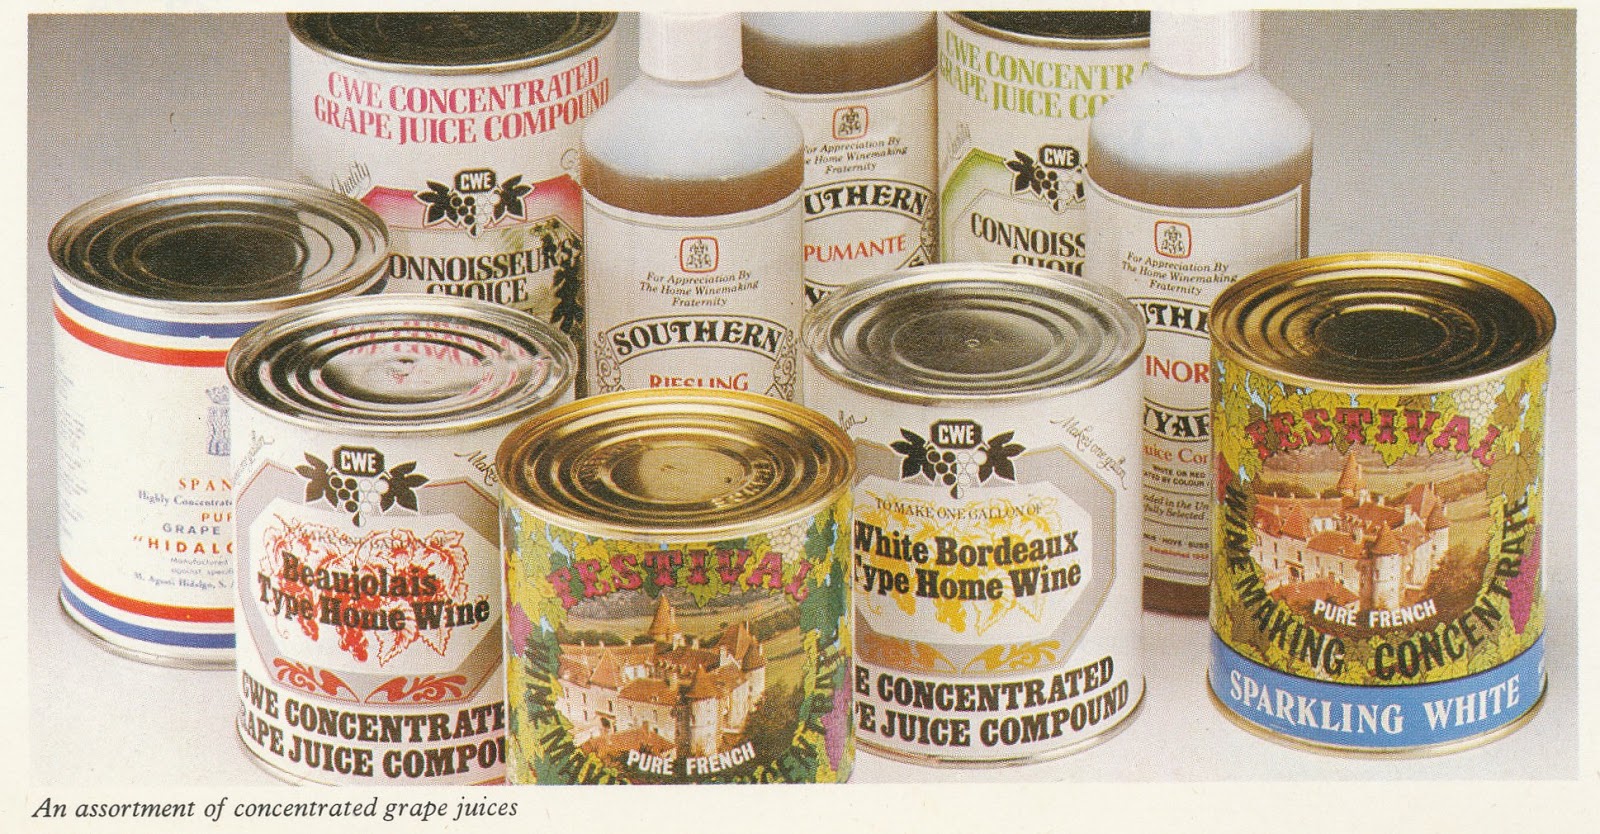
| Cans of concentrated grape juice |
In wine making, the equipment is simple. You need a glass jar (demijohn), a bored cork bung to fit the jar and an airlock to fit into the hole in the bung, a plastic funnel and plastic tubing, six wine bottles and corks. Besides the basic wine making equipment, you need ingredients such as a can of concentrated grape juice, water, some sugar and yeast. Just follow the recommendations of the manufacturer on the amount needed to produce 6 bottles of home made wine.
 |
| Basic equipment |
Prior to making wine, all the equipment must be carefully sterilised as we don't want to take chances, contaminated equipment can produce unclean wine that can land you in hospital. Equipment sterilising can be achieved using sterilising tablets purchased from a drug store. Having cleaned the equipment, pour a can of concentrated grape juice into the glass jar, add water and sugar (this will boost up the alcohol level during fermentation). Some people prefer to make wine from fresh fruits such as apples or berries. Then separate procedure is required to extract the sugar content in the fruits to turn it into wine. Anyway, this wine making session is about making wine from concentrated grape juice. With the glass jar filled up to 3 quarters of grape juice, the next step is to prepare the yeast culture in a bottle. Dry yeast compound is put inside a bottle containing sugar water and leave it standing in a warm place for 30 minutes with cotton wool plugged at the opening. When you see bubbles rising from the yeast culture in the bottle, fermentation has began. The content is then poured into the glass jar to induce fermentation. Then fit in the airlock to the glass jar, fermentation of the grape juice will begin soon. If everything goes on smoothly, bubbles (carbon dioxide) can be seen rising and escaping from the grape juice through the airlock. It is important to make sure that the jar is not filled up to the rim of the jar for safety reasons. The function of the airlock is to alloy only the carbon dioxide from fermentation process to escape into the atmosphere and prevents bacterial and micro-organisms from entering the jar to contaminate the wine.
 |
| Adding more sugar |
 |
| Yeast in bottle |
If the temperature is low in the house, i.e. winter time in cold countries like the UK, the glass jar with its fermenting content must be suitably heated up, or else fermentation may stop. Meanwhile topping up the jar with more water and sugar is necessary. It may take up to a week until fermentation process stops, i.e. the sugar content in the jar has been converted to wine. This can be observed easily when no more bubbles are seen escaping from the airlock. By then a layer of deposits or yeast sediments will be formed at the bottom of the jar. The wine needs to be filtered out into a new jar for storage. At this stage the wine will taste a bit flat if you drink it straight away. It is best kept for a few months at cool temperature before bottling into wine bottles.
 |
| Properly labelled wine in storage |
 |
| Filtering wine |
The specific gravity of the wine is checked to ensure that there is no residue sugar in the wine before bottling. Otherwise, the wine can start fermenting again if the temperature is high enough and there is some residue yeast in the wine. This is how champagne is made, it needs more elaborate equipment to remove the yeast sediments in bottles.
 |
| Checking density of wine before bottling |
 |
| Home made wine labels |
Once the wine is bottled, it is recommended that the wine be stored in bottles for ageing to take place. The longer you keep the wine in storage, the better it becomes. Generally the wine is kept in bottle for one to two years in bottles before consumption.
 |
| Fermentation taking place |
 |
| Having fun with wine that you made |


No comments:
Post a Comment